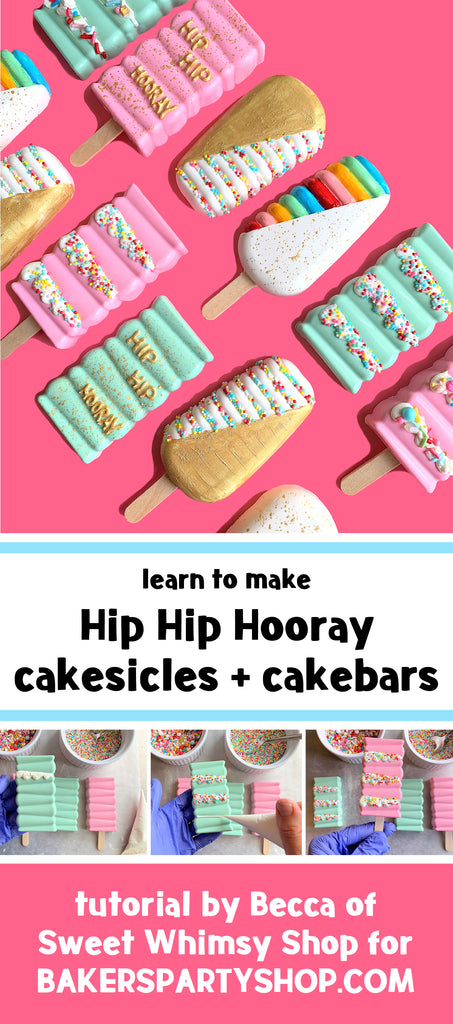
Hip Hip Hooray Cakesicles Tutorial
We're so excited to have Becca of Sweet Whimsy Shop back on our blog. Her Hip Hip Hooray Cakesicles tutorial will teach you how to make + decorate cakesicles and cakebars. We're celebrating big this month as Bakers Party Shop turns 10! What better way to celebrate than to learn how to make some trendy new party sweets from one of the sweetest and most talented baker-decorators around. Get ready to learn from one of the best! Take it away Becca...
When Bakers Party Shop asked me to create a cakesicle/cakebar design for their 10th anniversary celebration, I was delighted to have an excuse to experiment with two of their new cakesicle molds. As the cakesicle trend develops, so are more ways of creating and decorating the treat. The possibilities are endless, and this tutorial explores just a few techniques. For this first post I'll teach you how to decorate the rectangle cakesicles and cake bars.
If you are unfamiliar with cakesicles or cakebars (which are cakesicles made without the popsicle stick), take a look at some of the earlier tutorials I’ve written on “the basics.” The Christmas Tree Cakesicles tutorial offers step-by-step guidance for creating the original style of cakesicle (a traditional popsicle shape, with a glossy smooth surface). The Cupcake Cakesicles & Cakebars tutorial explains how to use a nontraditional shaped mold, as well as how to create a cakebar. If you are looking for a filling that is not cake check out my Peanut Butter Eggs Tutorial for a delicious peanut butter filling recipe. This tutorial begins with finished cakebars and cakesicles, so if you don’t know how to create those, please read through the other tutorials first.
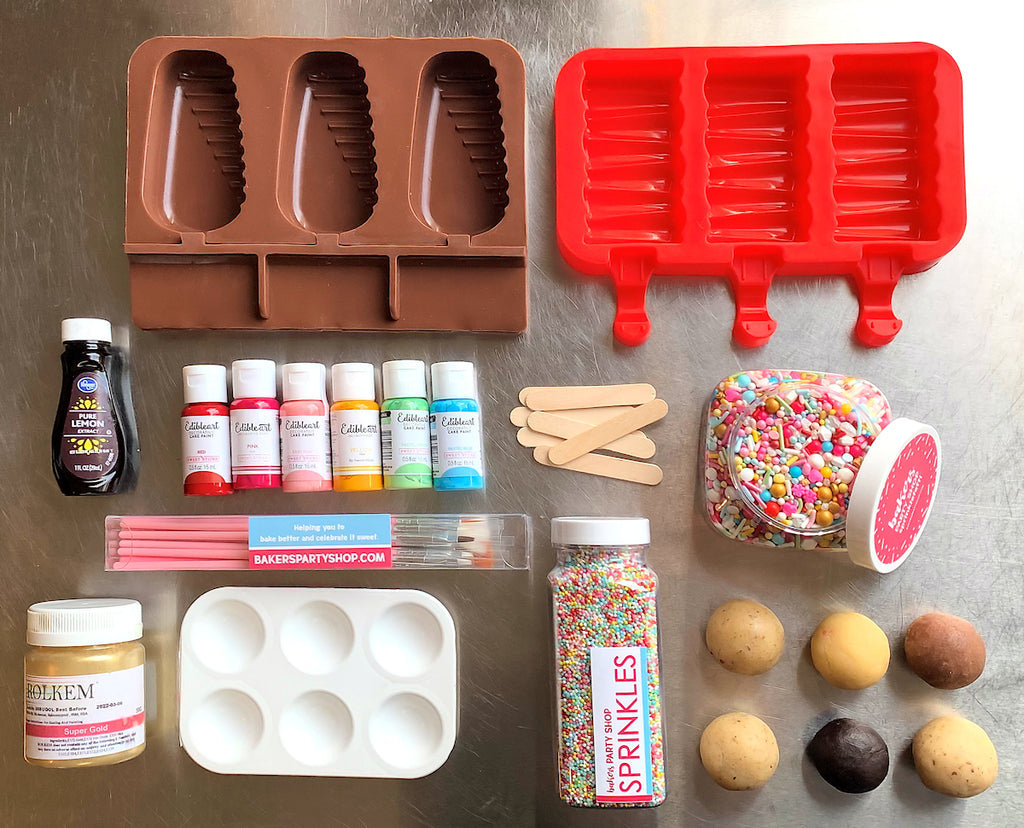
Ingredients and Supplies for making Hip Hip Hooray Cakesicles + Cakebars
Cake Balls, in your choice of flavor(s)
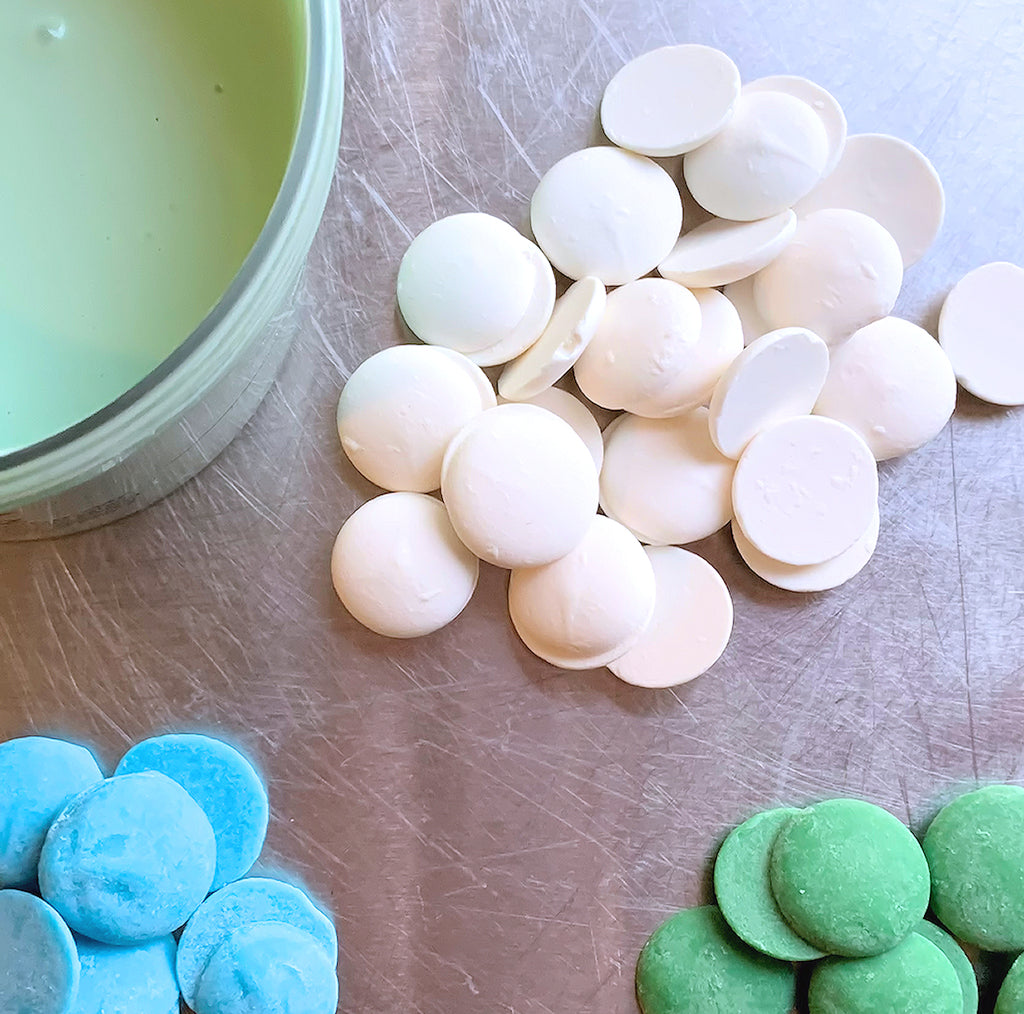
White, Pink, and Mint-colored chocolate candy coating (Such as Wilton’s Candy Melts)
Popsicle sticks, if making cakesicles
Piping bags for melted chocolate
Edible Art Paint: pastel pink, red, yellow, pastel green, pastel blue
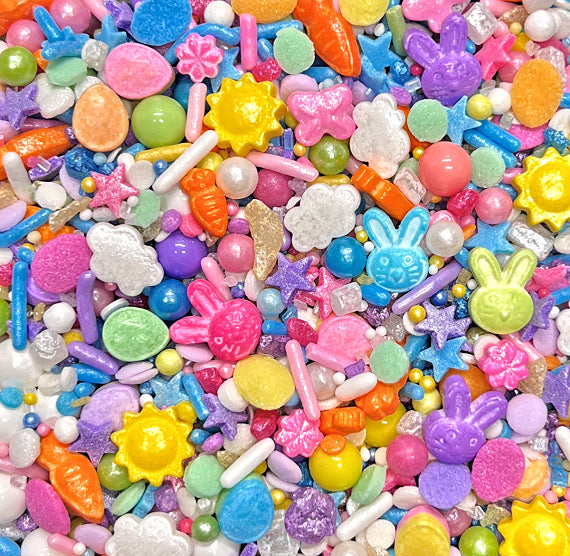
Hip Hip Hooray Sprinklefetti Sprinkle Mix
Nonpareil Sprinkles in Hip Hip Hooray
Edible Gold Paint (or Rolkem’s Super Gold, mixed with lemon extract)
Getting Started on Making Your Cakesicles + Cakebars
Make your cakesicles & cakebars using your preferred method. Again, if you’ve never made a cakesicle, follow the instructions in the Christmas Tree Cakesicles tutorial, and check out the Cupcake Cakesicles & Cakebars how-to for more tips. You’ll need the cake balls, cakesicles molds, popsicle sticks, and candy coating melts for this step. If you are unable to find a mint-colored chocolate coating, mix your own with a combo of mostly white candy melts + a few green + a few light blue. If the color is too dark, add more white. If it’s too blue, add green, and if it’s too green, and blue. Keep adding and mixing until you’ve got a lovely mint color!
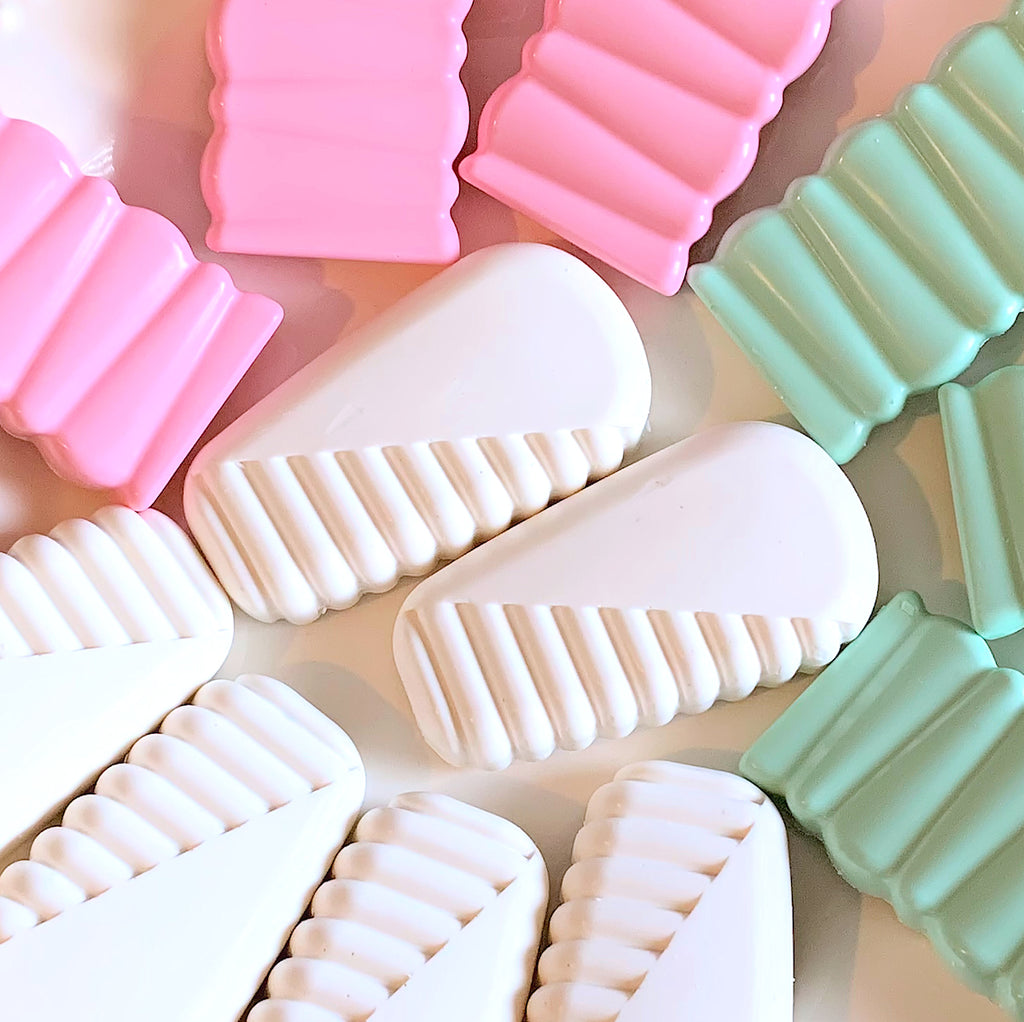
Use the cakesicle molds to cast 3 mint and 3 pink “rectangle” bars/sicles. I’ve found that you can create cakebars with the rectangle mold by building up the chocolate during the casting step, to create the same type of plug that is plastic-form in the half-striped mold.
Tip: The above is a great tip from Becca on how you can transform most cakesicle molds so you can make cake bars too! Don't you love products you can get multiple uses from?!
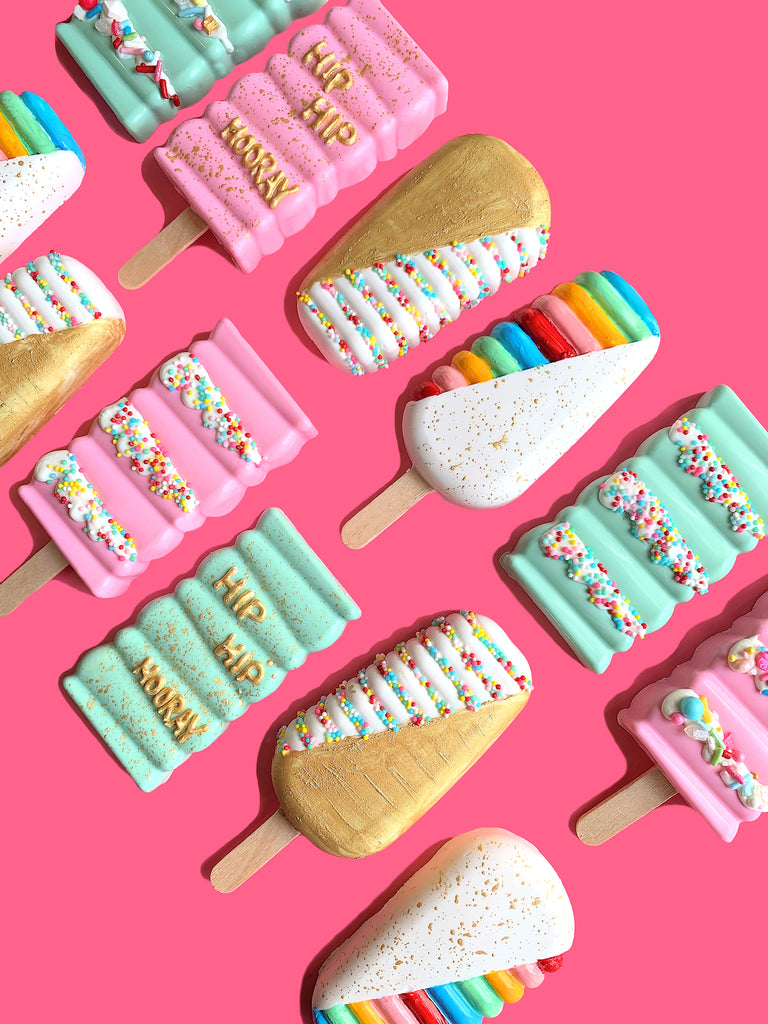
How to Make “Drippy Icing” Cakesicles with Sprinkles
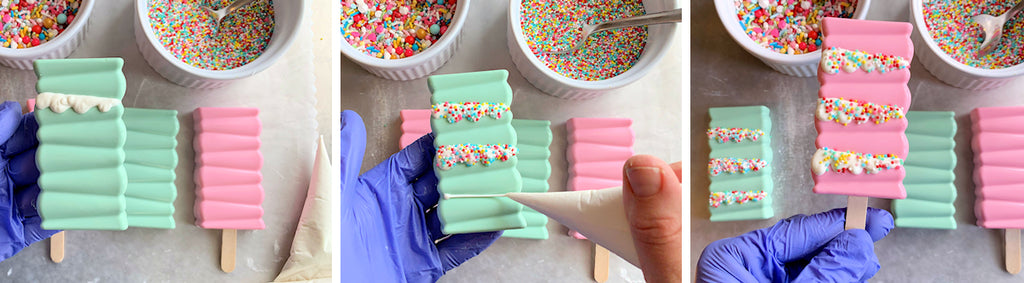
I love the texture and funky lines of the rectangle cakesicle mold. The indentations make it easy for piping straight lines, and the spacing of the shapes can be utilized to create a stacked “sandwich cookie effect.” For this technique, you’ll need a piping bag filled with melted white candy coating. You’ll also need the Hip Hip Hooray Sprinklefetti Sprinkle Mix and the coordinating Nonpareil Sprinkles.
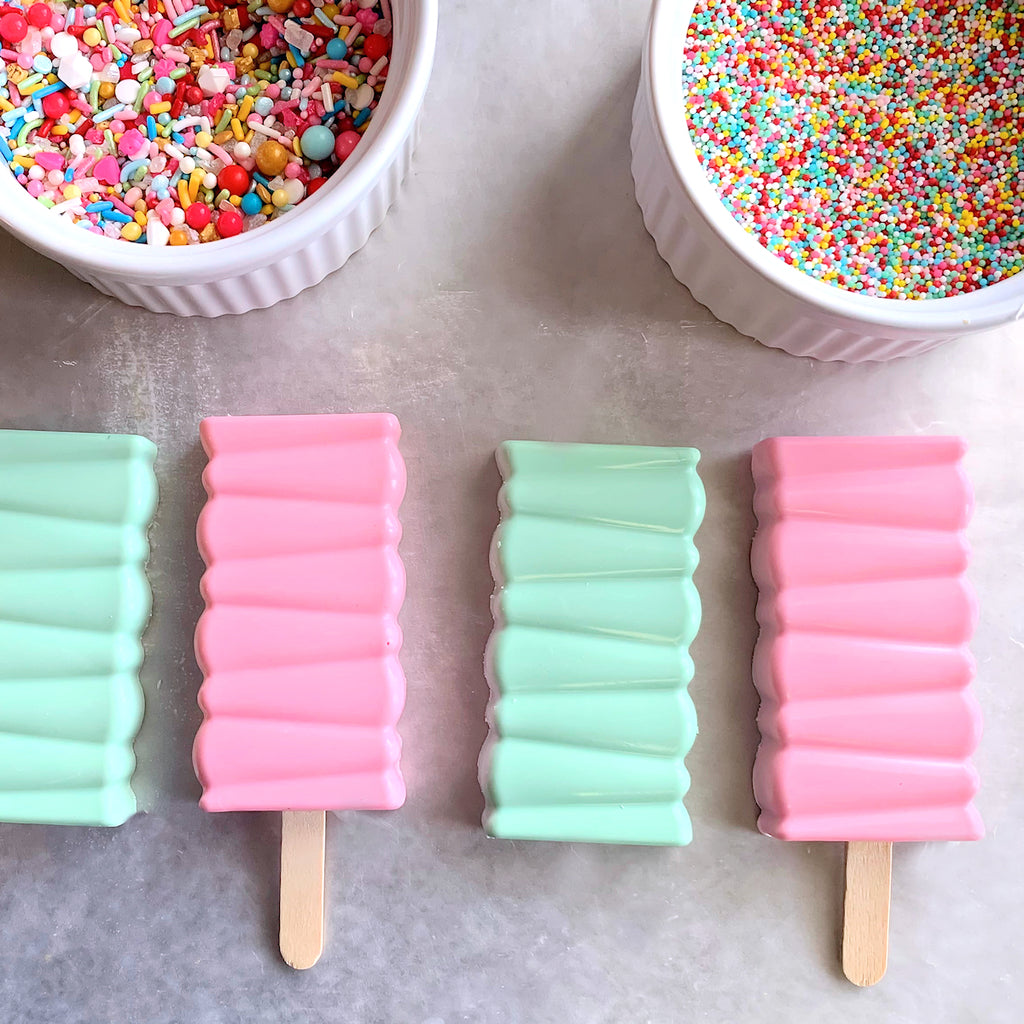
Starting with the second line from top, pipe a line of candy coating to follow the line. Then pipe “globs” along the line. Piping bigger/thicker globs on the left (the thicker end of the triangle segment), and smaller globs on the right (the thinner segment) will help with the illusion of the stacks. Working quickly, lightly sprinkle the Sprinklefetti or the Nonpareil Mix onto the uncooled chocolate. If the chocolate cools before you get the sprinkles on there, they won’t stick. To prevent this, I recommend working with one layer/line/segment at a time. Repeat with alternating lines until you’ve created 3 drippy lines, and the illusion of 3 stacked sandwich cookies.
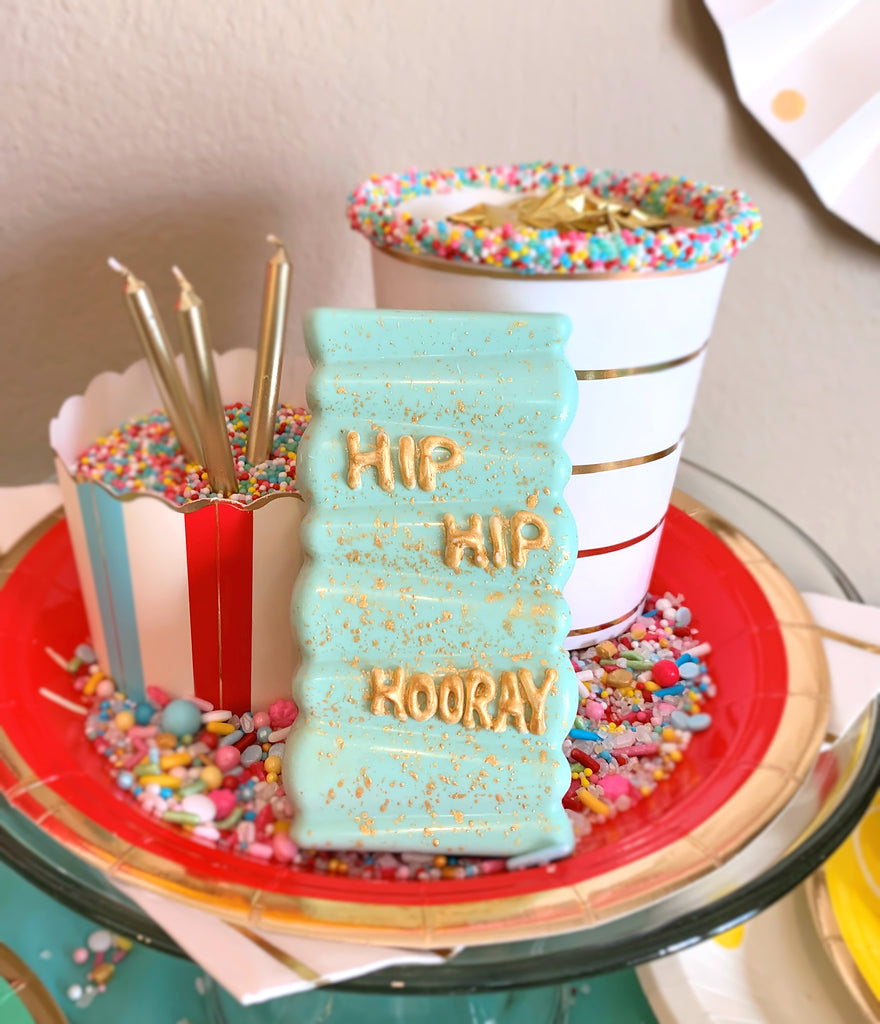
How to Decorate Rectangle Cakesicles with Splatter Paint and Gold Letters
If you’ve never worked with gold paint before: welcome to a whole new world! Gold makes everything better! You’ll need Edible Gold Paint, a fan brush, and a paint holder. Edible Art Paint makes a great gold paint that comes in a few colors. However, you can also make your own by mixing an edible luster dust with a very small amount of lemon extract to create a thick paintable solution.
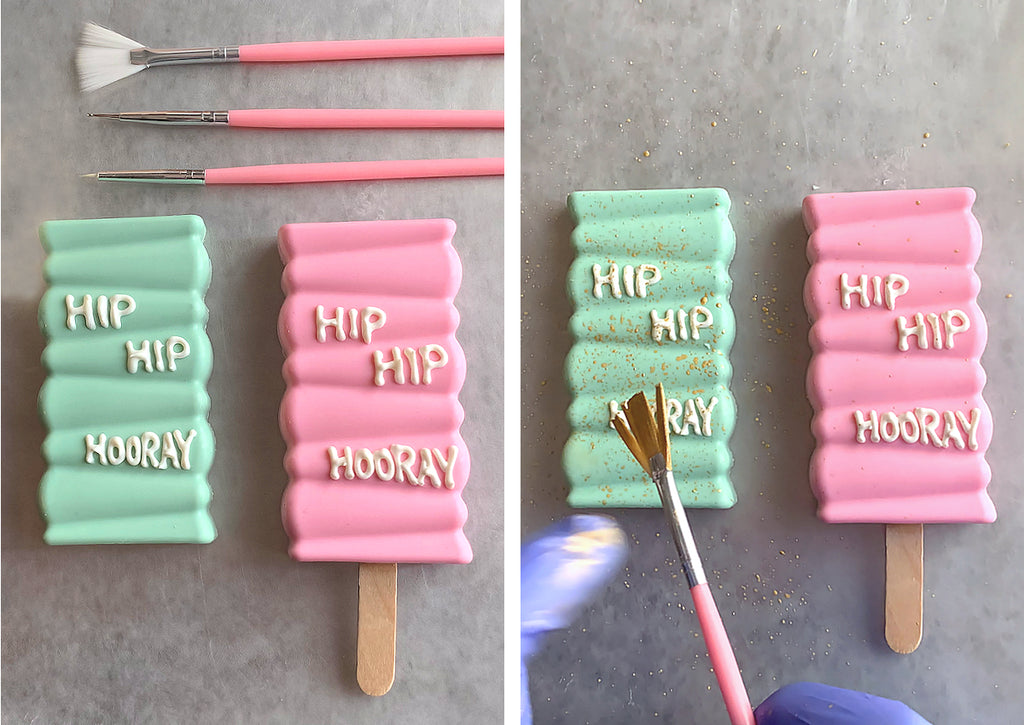
First, use the fan brush to splatter paint all over the surface of each cakesicle or cakebar. You can hold the paint-covered brush in one hand, and use the other hand to “flick” the bristles, or (as I prefer), just tap the brush handle to disperse the paint in a splatter design.

Next, use a teeny tiny paint brush to paint each letter. If you purchased the paintbrush kit, there will be a very small metal ball-tipped tool that you can use to scrape away any “misfit” painting. Once finished, set aside to fully dry.
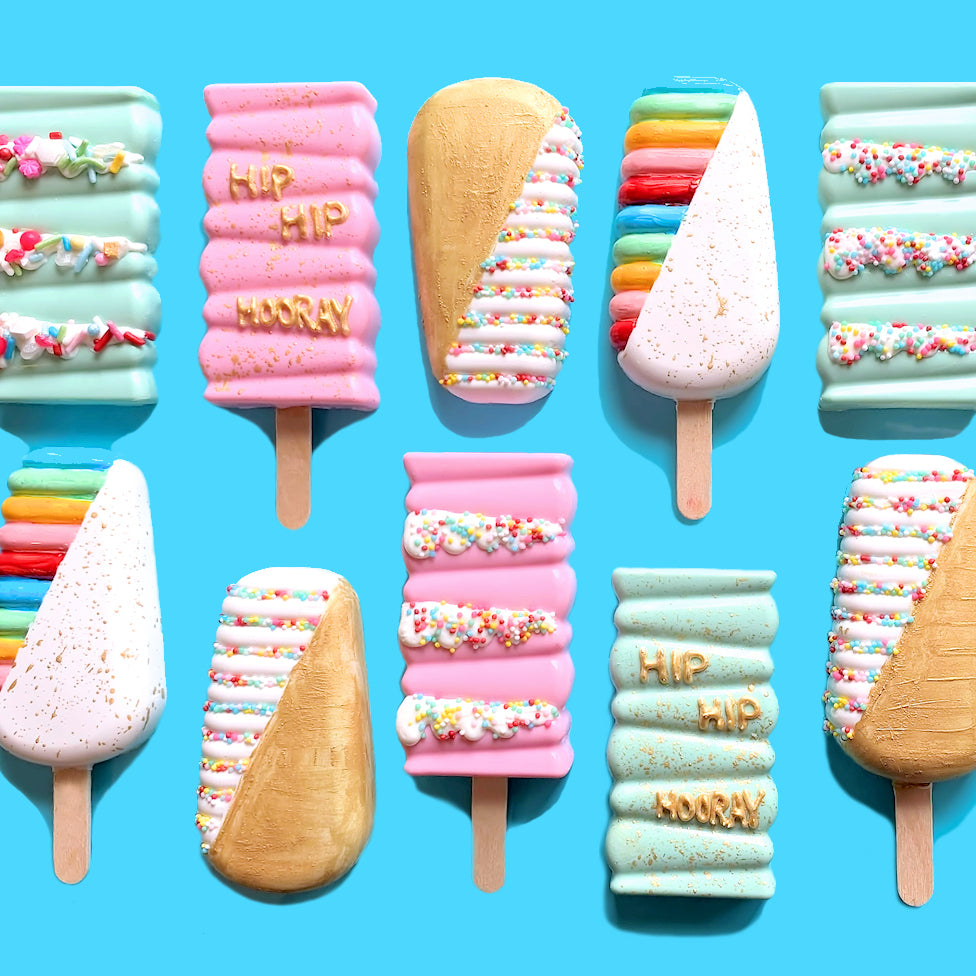
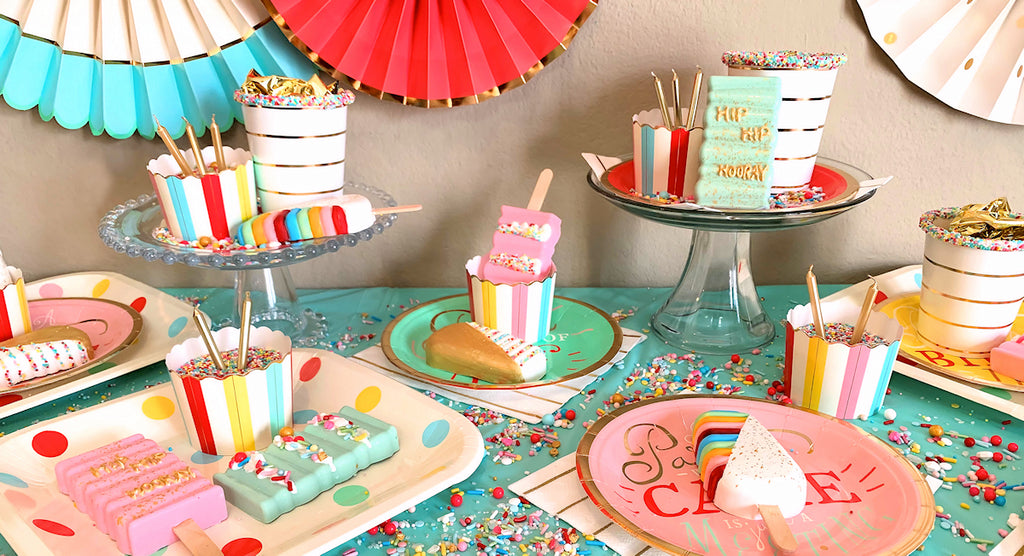
When you have finished your Hip Hip Hooray cakesicles and cakebars, use the coordinating Hip Hip Hooray Partyware by My Mind's Eye to style a beautiful tablescape. This fun collection is perfect for just about any celebration! Stay tuned, I'll be sharing how to make the rainbow striped cakesicles next and you'll get to see more of my Hip Hip Hooray party table to help inspire you to celebrate!
If you make these cakesicles or cakebars, please tag us on social media. Use @SweetWhimsyShop and @BakersPartyShop or #SweetWhimsyShop or #BakersPartyShop to share photos of your work, and to permit us to share your photos with our followers. Many thanks in advance!
Happy creating!
Becca for Bakers Party Shop
This post was written, styled and photographed by Becca Aronowitz of Sweet Whimsy Shop for Bakers Party Shop. Intro and photo editing by Esther of Bakers Party Shop. If you share a photo from our post a link must be displayed back to this post and credit given to Becca of Sweet Whimsy Shop - Bakers Party Shop. All photos in this post and content are copyright of Becca Aronowitz - Bakers Party Shop, 2019 All rights reserved.
PS: If you enjoyed our post please share the love, pin the below Pinterest worthy photo to save for later inspiration!
Leave a comment