How to Make Bunnysicles: Bunny Cakesicle Tutorial
This week were sharing a darling tutorial on how to make bunnysicles, also knows as bunny cakesicles by Becca of Sweet Whimsy Shop. These delightful and fun spring treats on a stick are perfect anytime! Take it away Becca...
“Bunnysicle?” Yup! If a cake pop that looks like a popsicle is called a “cakesicle,” then I think it’s fair that a bunny-shaped cakesicle should be called a “bunnysicle.” I was overthe-moon when I first saw these bunny-shaped molds! Perfect for Easter, or bunny lovers, or anyone (like me) who is obsessed with all things cute!

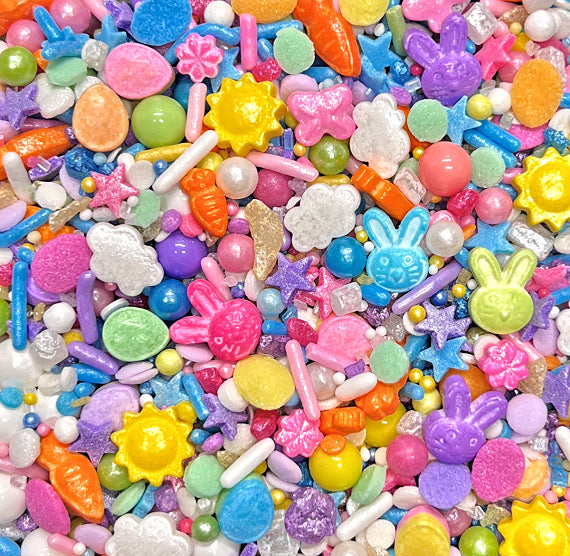
As a play on the popsicle theme, I thought adding a frosting-style topper with sprinkles would be a fun touch. I also experimented with a “festival headband” look. The Easter Sprinklefetti mix is perfect for the holiday, but don’t feel limited to just Easter themes. How cute would a set of costumed bunnies for Halloween be? Or red, white, and blue décor for Memorial Day or July 4th? For now, Easter is the most pragmatic theme, but I’m sure I’ll be making these year-round.

The method for making Cakesicles/Bunnysicles is fairly user-friendly, in regards to making cake pops, or any other chocolate/candy-coated covered treat. The process shown in this tutorial uses “cake dough” (the mixture of a fully-baked cake with frosting, that creates a pliable solution, great for rolling in to balls, or pressing in to a cakesicle mold), but just about any “squishable” medium will work. Try the peanut butter filling used in my peanut butter eggs tutorial or rice krispy treats, or Oreo balls, for example. Go wild, lol! Last month I came up with gooey crisp rice marshmallow filling that stays a bit softer than traditional crispie rice fillings. If you'd like purchase my downloadable recipe for $2.50 click here.

How to Make Bunnysicles
Ingredients and Supplies
Cake balls (or some other pliable dough/filling)
Melting chocolate or candy coating (I use Wilton’s Bright White and Light Cocoa candy melts)
Piping bags for melted chocolate
Bunnysicle mold
Popsicle sticks
Easter Sprinklefetti
Large round white candy box (to package for gift giving)
Paramount crystals (may not be needed, is used for thinning candy melts)
Limited Stock Bunnysicle Mold + Sprinkle Kit with Free Bonuses

Once you have gathered all your supplies and ingredients, melt the chocolate. If using candy melts (like Wilton’s), I recommend microwaving for 30 seconds at a time, at 50% power. Stir each time until melted.
Use a spoon to fill each cavity approximately half way, then tap (or slam, lol!) the mold on the countertop to remove air bubbles from the chocolate. Do not skip the tapping/slamming step, and do not be afraid to over-tap. The eyes, nose, and mouth cut-outs of the bunny cavity can make a smooth (bubble-less) cast trickier than using a regular/smooth cakesicle mold. For that reason, you need to be extra diligent about tapping out the air bubbles.

Use a spoon to guide the chocolate up the sides of each mold. Ensure the chocolate covers all the way to the top edge, and all the way around. Then use a popsicle stick to clear the chocolate from the hole at the base. Freeze for 5-10 minutes.
Note: If the chocolate layer is not thick enough, cracking can occur. If you are using a thin chocolate (like “fountain chocolate,” which has extra oil already added to it), or if you’ve diluted your own chocolate or candy coating with oil or paramount crystals, you may need to add a second layer of chocolate, after the first layer cools/hardens. Ideally, use candy melts “as-is,” straight from the package; they do not need to be thinned for cakesicle-casting.
After the layer(s) has/have cooled and hardened, press one cake ball in to each cavity of the mold. If you are using something other cake balls, aim for about 1 Tablespoon of peanut butter, rice krispy treat, etc per cavity. You may need to add/subtract to appropriately fill the space. Be sure to leave enough room at the top to fully-cover and seal the treat with more melted chocolate.
Insert a popsicle stick through the hole at the base of the mold, then cover everything with more melted chocolate. Use a spoon to spread the chocolate over the cake/filling, and gently tap the mold to settle the chocolate for a smooth appearance. Freeze 5-10 minutes to set.

Carefully remove each Bunnysicle from its mold. I’ve found it easiest to hold the popsicle stick with your non-dominant hand while using your other/dominant hand to peel the mold away from the chocolate. Once the silicone cavity is fully-removed from the chocolate, carefully push the popsicle back through the little hole, to release the Bunnysicle from its mold.

The Bunnysicles are pretty adorable on their own, but I chose to take them a step further with sprinkles and piped chocolate. To achieve the same look: use a piping bag to pipe melted black chocolate into the cavities for the eyes and mouth. Then use pink chocolate to pipe inside the nose and ear cavities (be sure the black chocolate is fullyhardened before you pipe the pink nose, otherwise, the two might mix/bleed)

For the “chocolate syrup” or “frosting” effect, use a contrasting color (i.e. milk chocolate, if your bunnies are white, or white chocolate if your bunnies are brown) to pipe a few “globs” of chocolate above the eyes, and about half-way down from the tops of the pink ear lining. Then sprinkle with the Easter Sprinklefetti, before the melted chocolate cools and hardens.

For the festival headband, pipe a slightly-curved line of chocolate just below the linings of the ears. Carefully place candies and sprinkles along the line, before the chocolate cools (you’ll need to work quickly!).

For display: two Bunnysicles will fit inside a large round candy box, which makes an adorable gift, especially on a bed of pink grass! Each Bunnysicle is roughly 4”-5” long (depending on how much of the popsicle stick is exposed), a little more than 2” wide, and about 1” deep/thick. A single Bunnysicle would be beautifully displayed in the 2piece cookie box. If you made bunnies without the popsicle sticks, they would be a little more than 3” long, and would fit great inside a cellophane treat bag.

We hope you enjoyed the bunnysicle cakesicle tutorial. If you recreate these Bunnysicles, please tag us on social media (and let us know what filling you used!). Use @SweetWhimsyShop and @BakersPartyShop to share photos of your work, and to permit us to share your photos with our followers. Many thanks in advance!
Happy creating!
Becca for Bakers Party Shop
This post was written, styled and photographed by Becca Aronowitz of Sweet Whimsy Shop for Bakers Party Shop. Intro and photo editing by Esther of Bakers Party Shop. If you share a photo from our post a link must be displayed back to this post and credit given to Becca of Sweet Whimsy Shop and Bakers Party Shop. All photos in this post and content are copyright of Becca Aronowitz - Bakers Party Shop, All rights reserved 2019.
PS: If you enjoyed our post please share the love, pin the below Pinterest worthy photo to save for later inspiration!

Leave a comment